How to brand your emails
Looking to customize your resident portal? Add your logos to the portal, system generated communication, and reports.

Leila Scola
Last Update a year ago
1.) Once signed into the Master Administrator Account, go to 'Managers' and then 'Administrator data'.
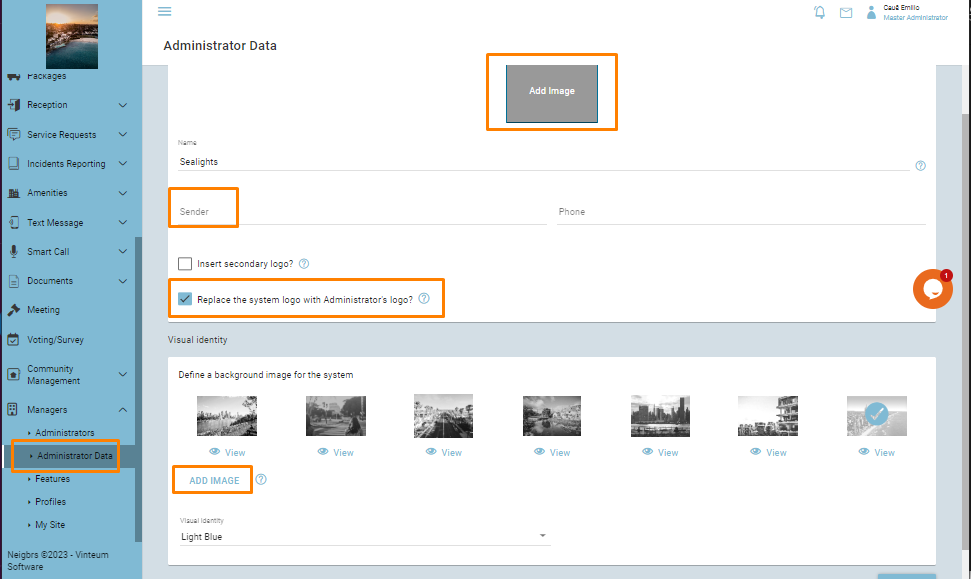
2.) In order to insert a logo above the menu bar, select the "Add Image" option, and insert the file from your computer.
By selecting "Replace the system logo with Administrator's Logo" you change the logo throughout the system and on all system generated emails.
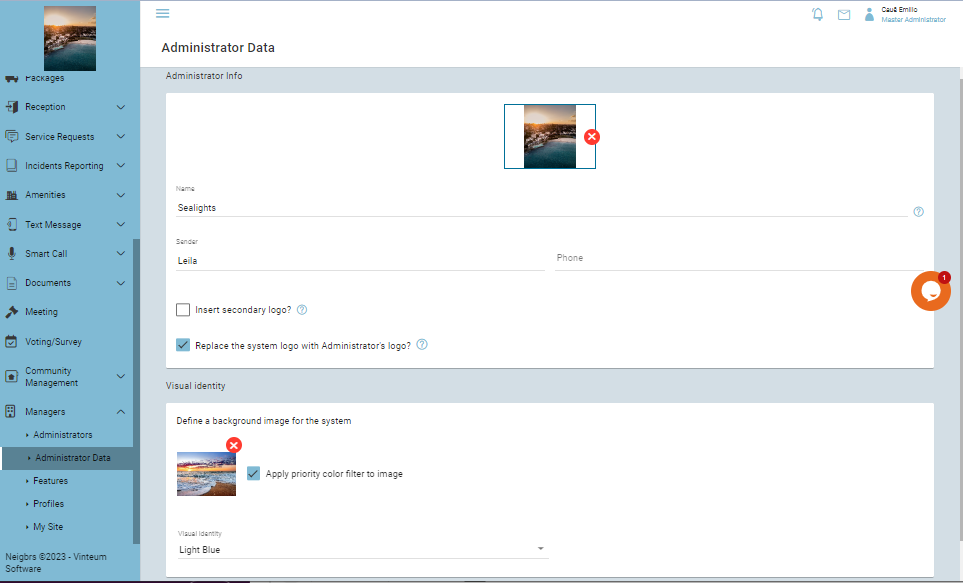
3.) You can also change the header image of the email by clicking on "Add image" under the Visual Identity section. It's the same image that will be shown in your community's login page.
4.) The "Sender" field defines the name displayed as the email sender. If the field is not filled in, the email sender will be Vinteum Neigbrs.
See below for a reference on how the following fields appear within a notice.
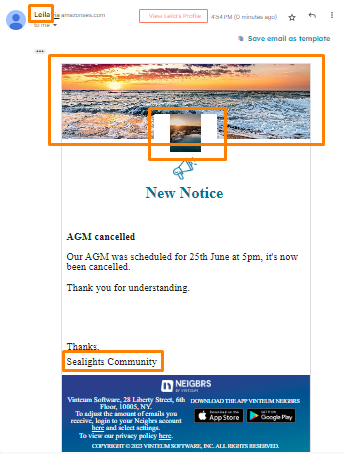
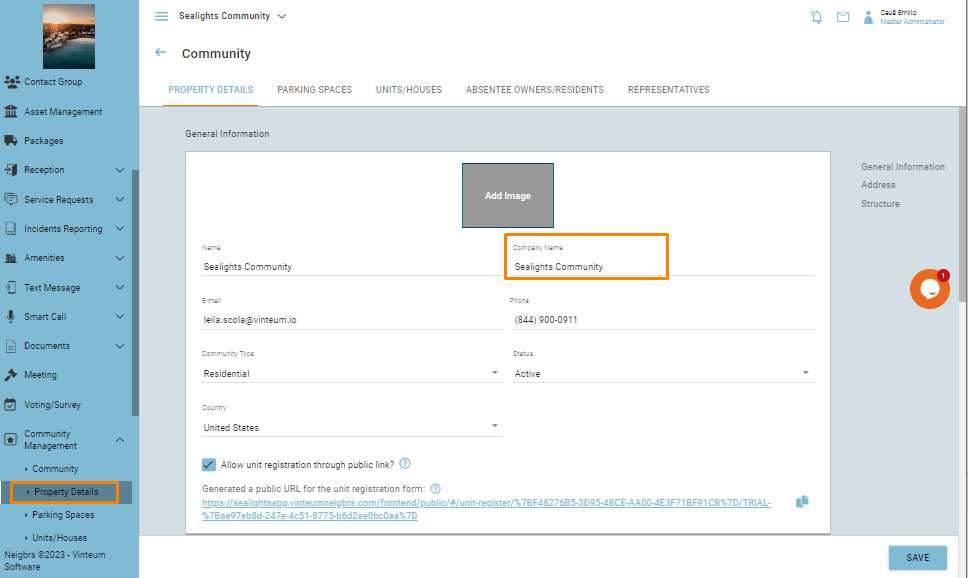
5.) As you can see, there is an extra field after "Thanks". This field is different for each community and can be set by going to Community Management and then Property Details and setting the "Company Name" field.