How to build your website
Creating and setting up a public-facing website with the Neigbrs portal is very easy! In this guide, we'll go through it step-by-step.

Caue Emilio
Last Update vor 2 Jahren
0.) If this is the first time you're creating a website and you want to create a website to your Property Management Company, you need to log in to Neigbrs scroll down to managers in the left-hand sidebar and then click on my site.
It is important to know that this website won't be related to any Community and can only be edited by Master Administrators.
If your community is not part of a Property Management Company and only have a single Community registered under Neigbrs, you may also create the website under the Managers menu. This way, you have more flexibility regarding who can edit the public-facing website.
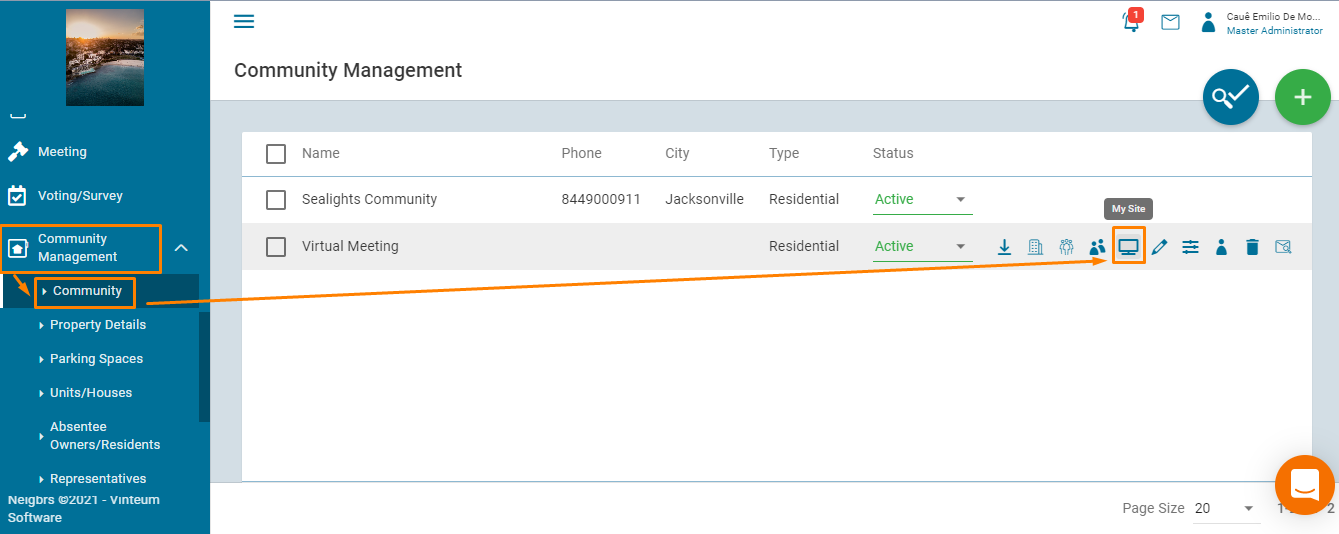
0.) Otherwise, if you want to create a Community website to be managed by a single Community, you will need to go to Community Management; Community; hover the Community that you wish to edit the Website and then click on my site.
Note that this website will be related to a single Community and can only be edited by Administrators related to that Community and Master Administrators.
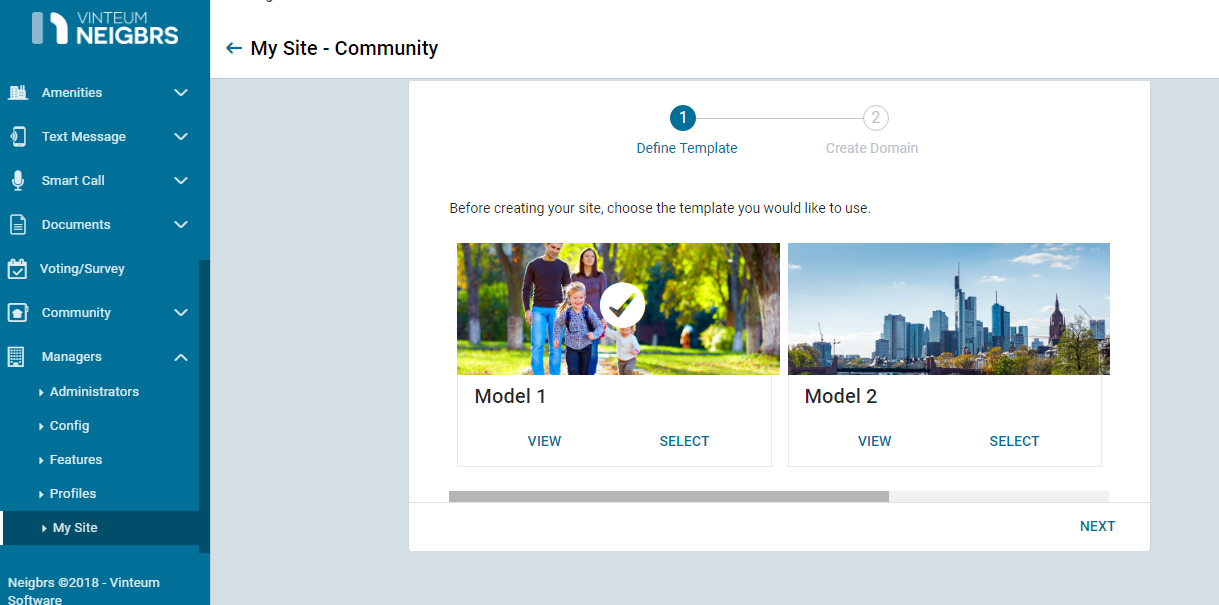
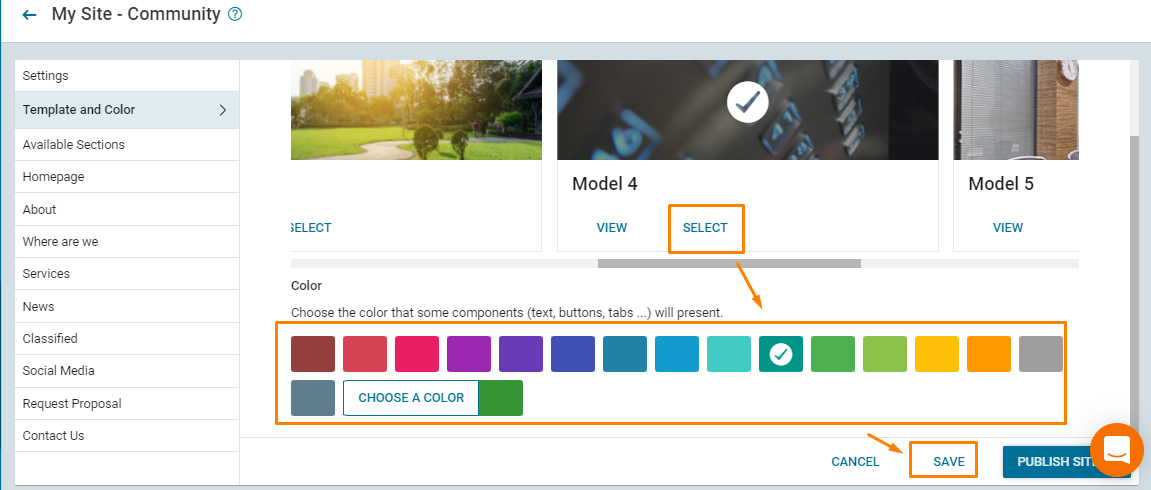
From here, you have six different website templates.
1.) Choose the one that works better for you. You can change the template anytime.
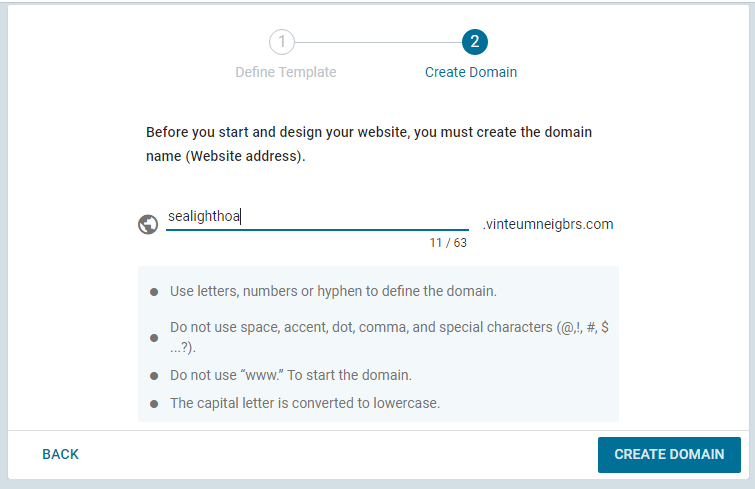
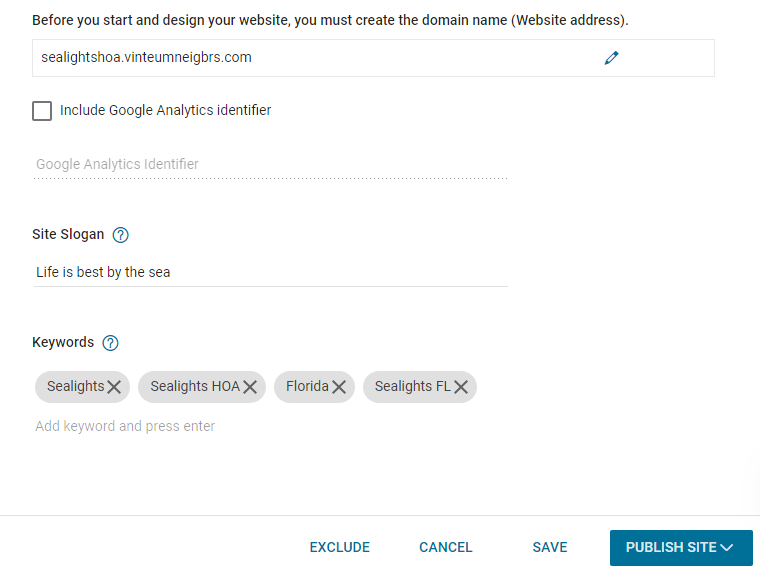
2.) Click next and write the domain you'd like, don't forget that punctuation and capitals won't appear. There is also no need to include 'www' at the beginning. Then click on 'create domain'.
3.) The next screen that will appear is 'settings', and you can include a Google Analytics Identifier, which helps you to analyze website traffic, and a site slogan which appears by the site name and in search engines.
There is a space for your slogan if you have one. This could be 'Welcome to my HOA' or something more specific. Keywords are really helpful for people to find your website, so we suggest you to include the town and State of your HOA.
4.) In template and color, you can change the template if you decide you prefer a different one. The color changes the color of the button to 'access your community'. To make changes click on save and then publish site. The changes are normally very quick but sometimes may take a minute or so.
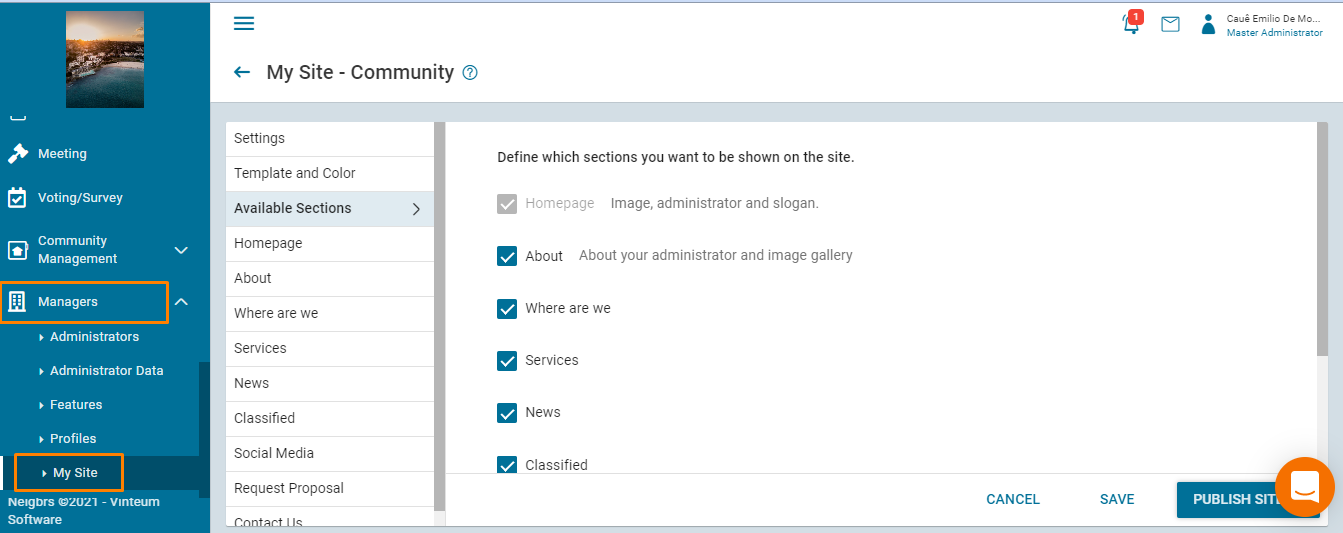
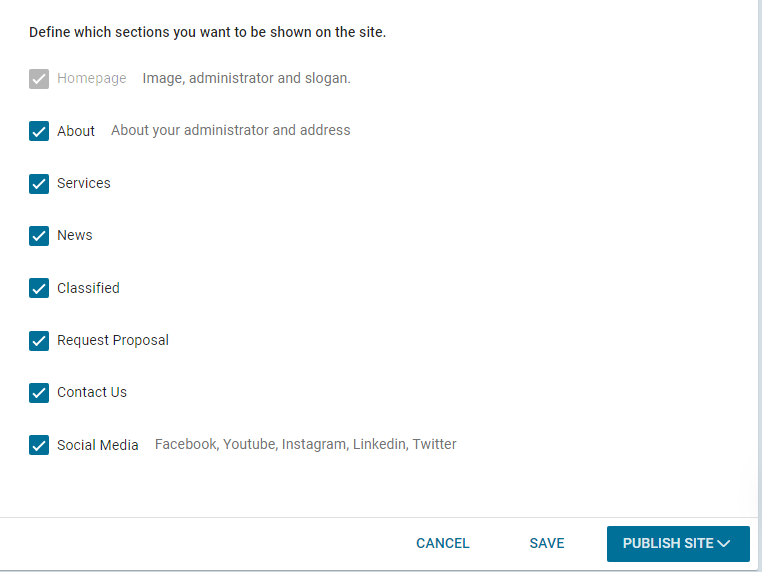
In available sections, you can customize your website further. You can remove every section except the homepage.
- In 'about' you have the details about your website.
- In services, you can post information about your HOA.
- In news you can tell your HOA about what's going on.
- Classifieds is to post any ads that everyone can see.
- Request proposal is for people to ask about buying or renting a flat.
- Contact us is a contact form.
- For social media, you can include links to your Facebook, Youtube, Instagram, Linkedin, and Twitter. If you don't want any of these things you can just untick them, except for the homepage which you have to have.
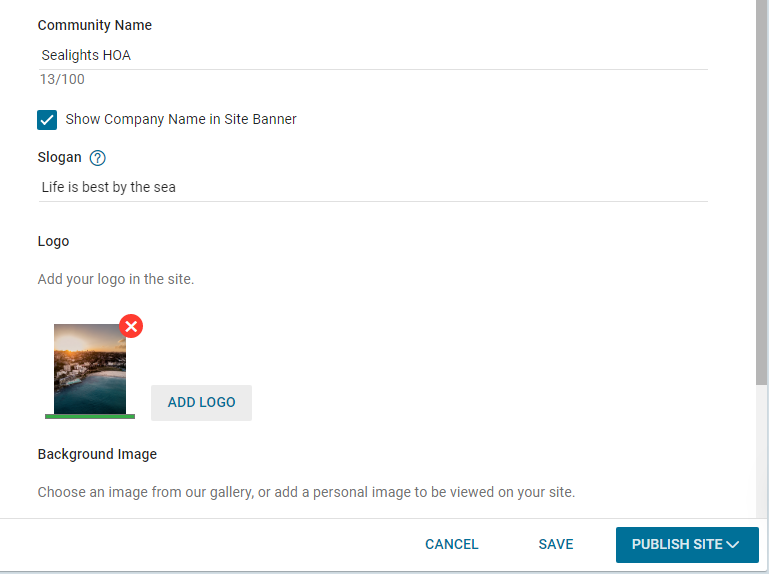
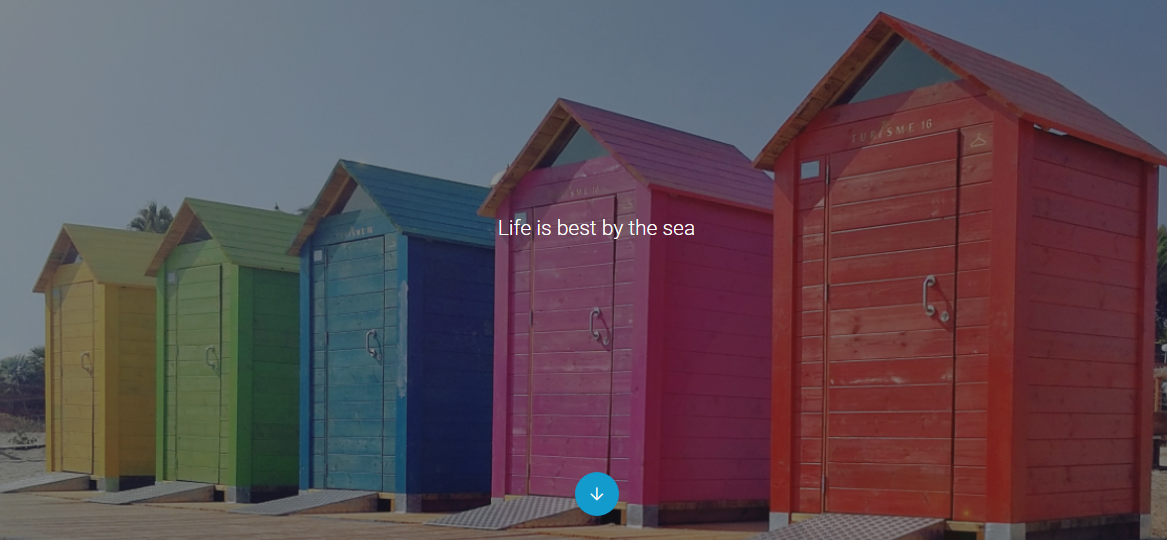
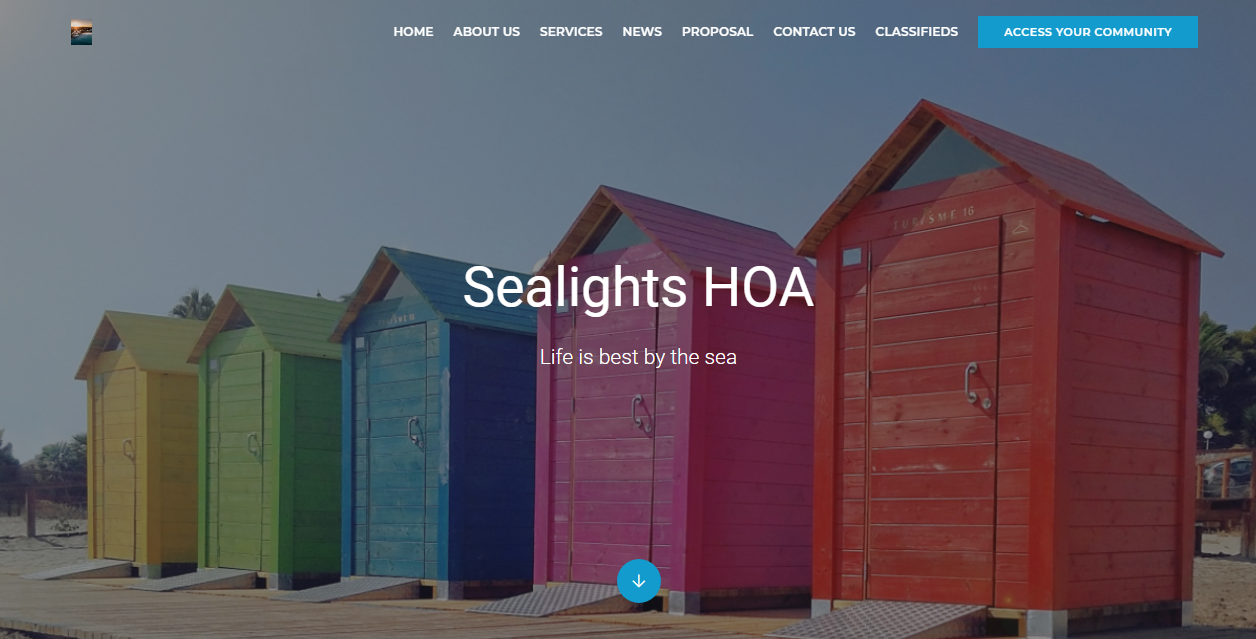
5.) The homepage is the first page that people will see when they click on your website. Include your HOA's name, slogan, logo, and a background image. The ticked button in the picture is 'show company name in site banner', and this changes if your name appears at the top. To update your site first save and then publish.
Without the name in the site banner it looks like this:
And with the name in the site banner your homepage looks like this:
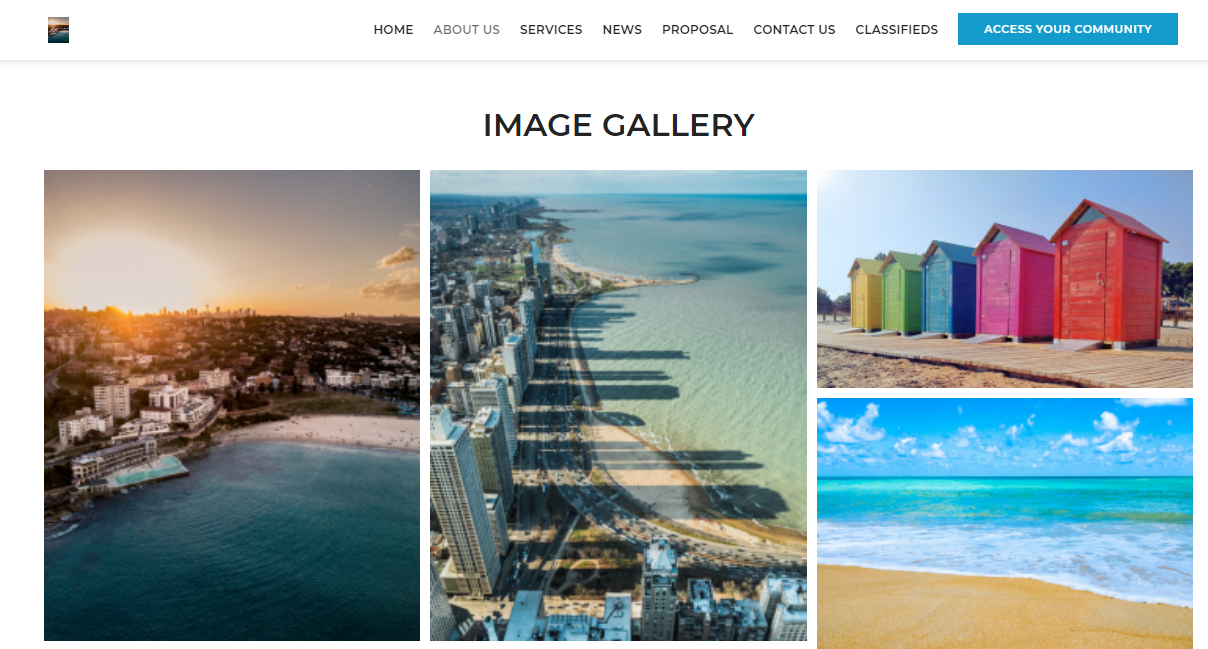
6.) The 'about' tab is where you can write a description of your HOA and you can upload some lovely pictures of your HOA! Click on save and then 'publish site'.

This is what the website looks like after you make those changes:
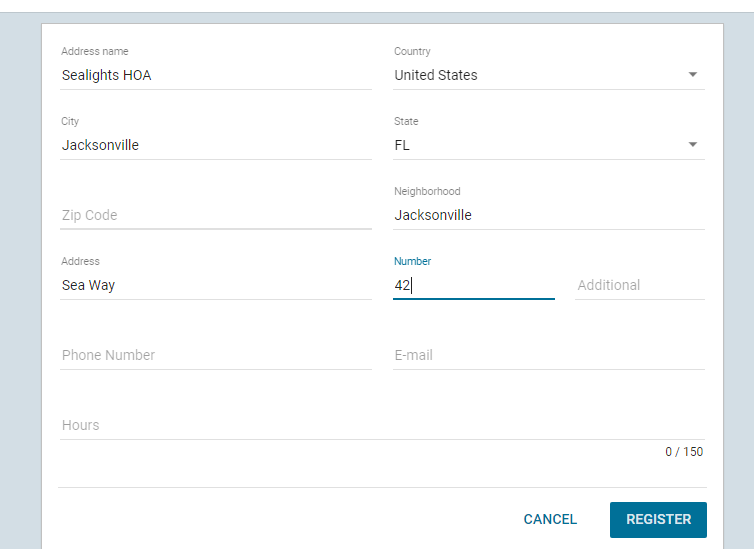
7.) 'Where are we' shows the world where your HOA is located! The form is very simple, and it's up to you how you fill it in, you don't have to include a number or phone number, and hours can be for your office hours if you wish.
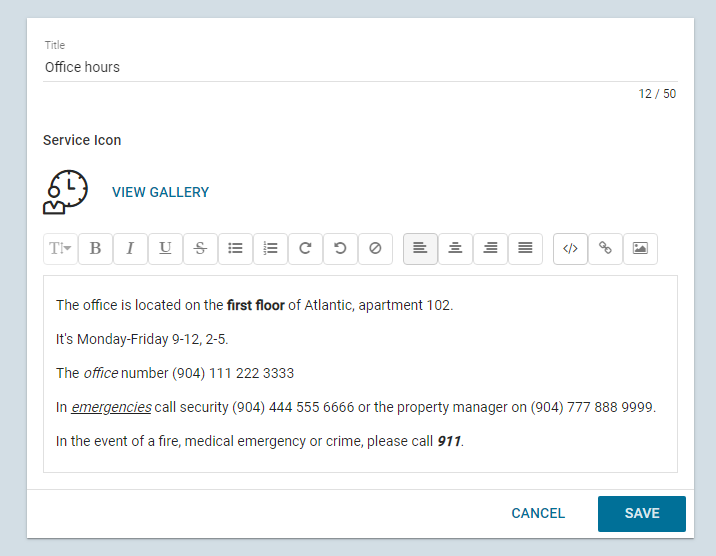
8.) The services section includes everything the HOA offers, there are some icons for you to choose from. You can include forms, office hours, laundry room times, announcing your new Neigbrs portal, etc. You can change the text size and format, hyperlink, and pictures.
On the website, this services post looks like this:

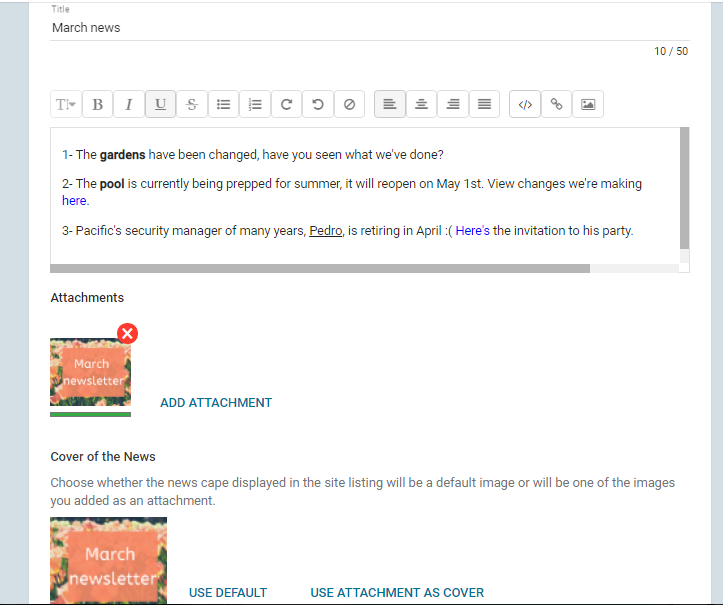
9.) News is the space where you can post any news from your HOA, including any newsletters, updates, and event invites. You can change the photo cover, and add attachments, hyperlinks, and images within the news.
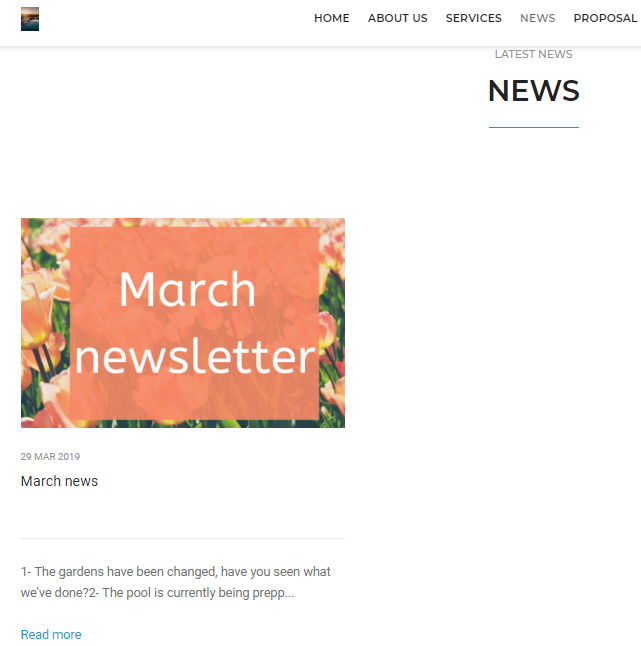
The preview for this post on the website looks like this:
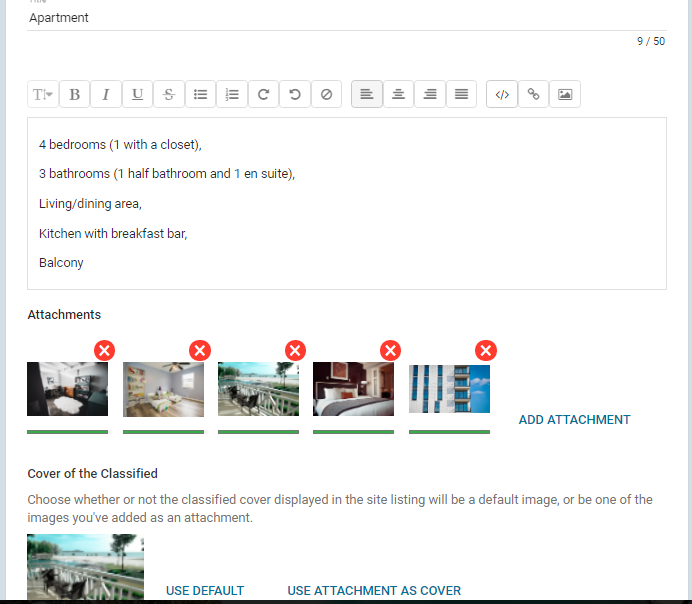
10.) In classifieds, you can include any ads and anything that may be for sale in your HOA, maybe apartments, cars, etc. You can change the text size and format, hyperlink, and include pictures.
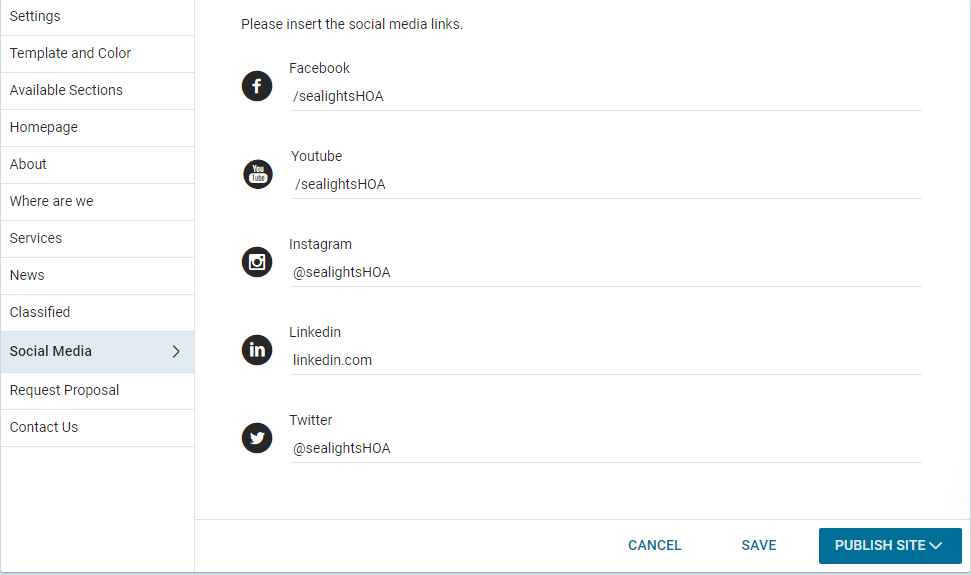
11.) In social media, you can include your Community's social media pages.
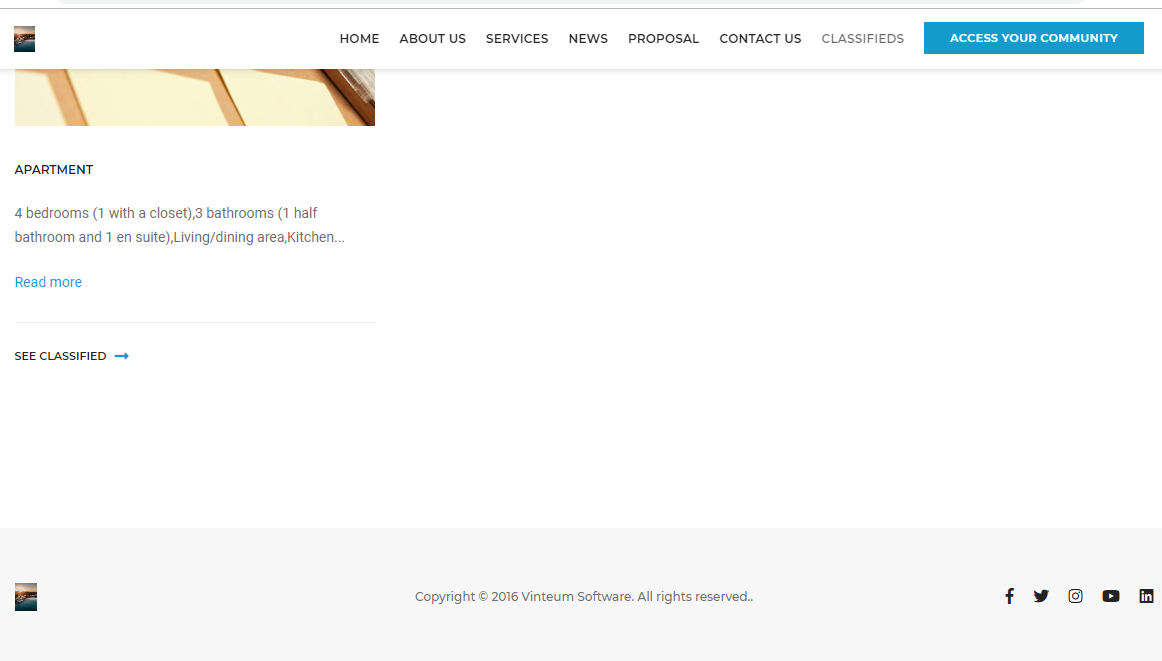
On your website, it appears at the very bottom.
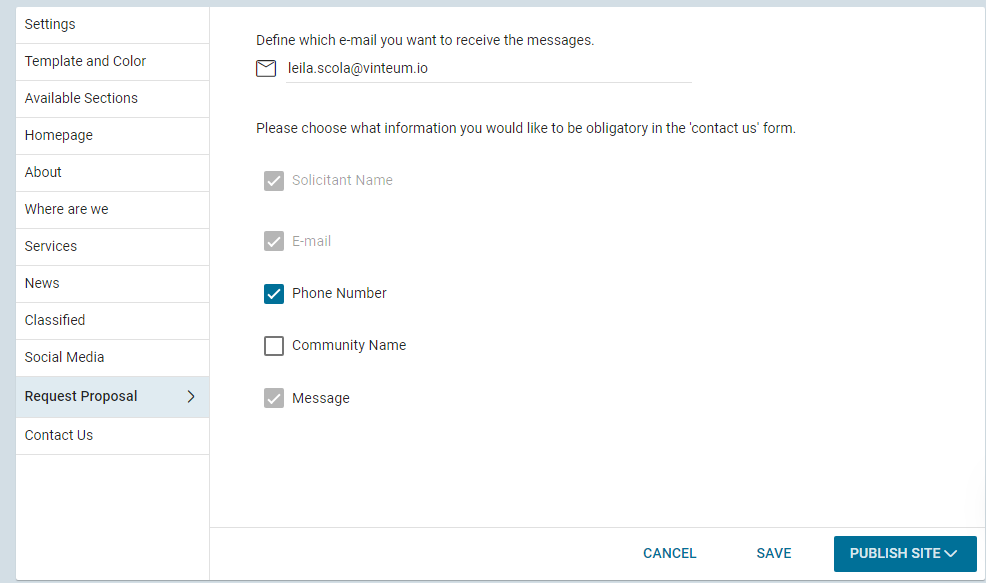
12.) On the backend, all you have to do in 'request proposal' and 'contact us' is to add the email of the person you wish to receive all the answers to the form. You can also reduce the information that is obligatory to include. The difference between 'request proposal' and 'contact us', is that 'request proposal' is meant for management companies to contact your HOA to prepare a bid to buy the association. 'Contact us' is for everyone to send a message to your community.
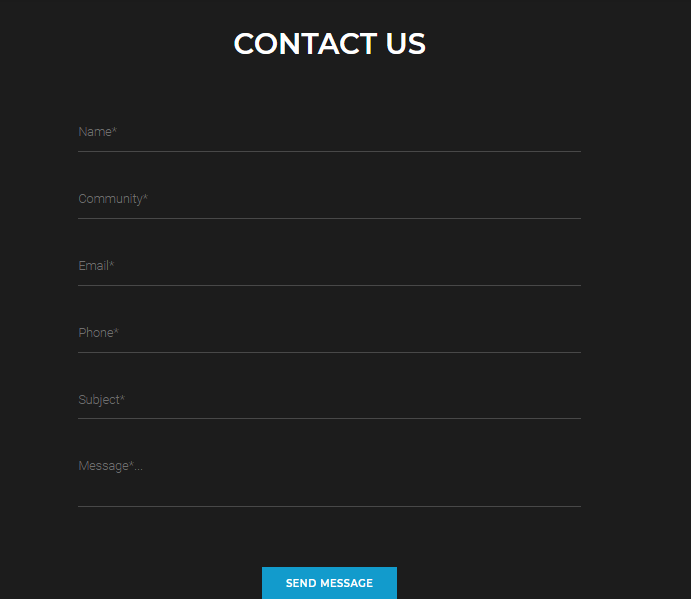
On your website, the forms look like this:
And that's it! Don't forget that you can remove any of these in 'available sections', so for instance, if you don't have any social media, untick the section and it won't appear. You can view the example site here.