Quickbooks Online Integration
Through our Quickbooks Online integration, you will be able to send residents their dues directly from Neigbrs.

Caue Emilio
Last Update 1 年前
You can log into your Quickbooks Online account to access your invoices directly from Neigbrs.
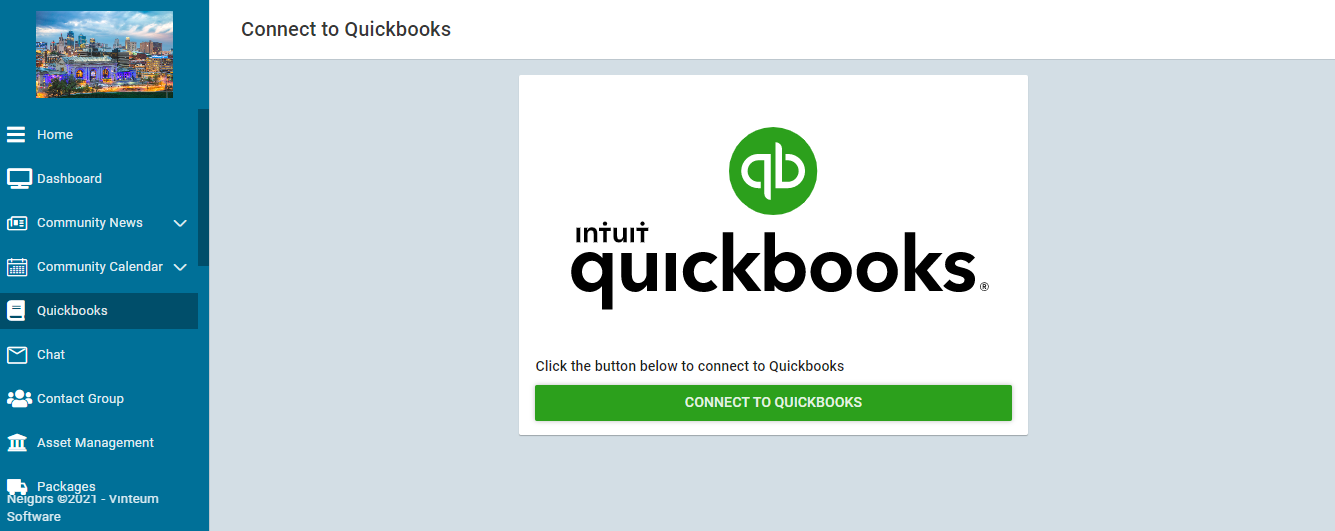
1.) To log in, go to Finance and click on "Connect to Quickbooks".
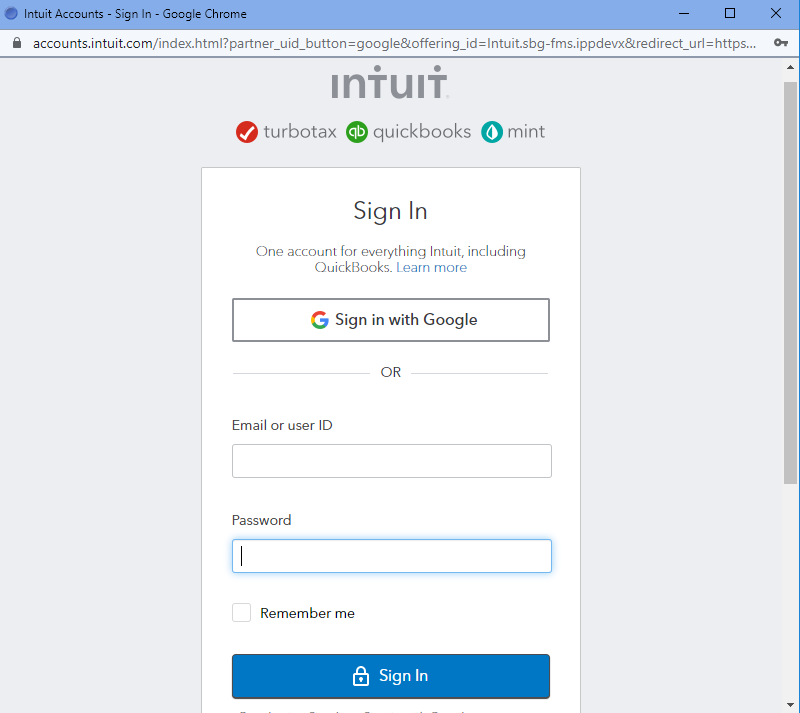
2.) A new window will appear where you can enter your QuickBooks Online login information:
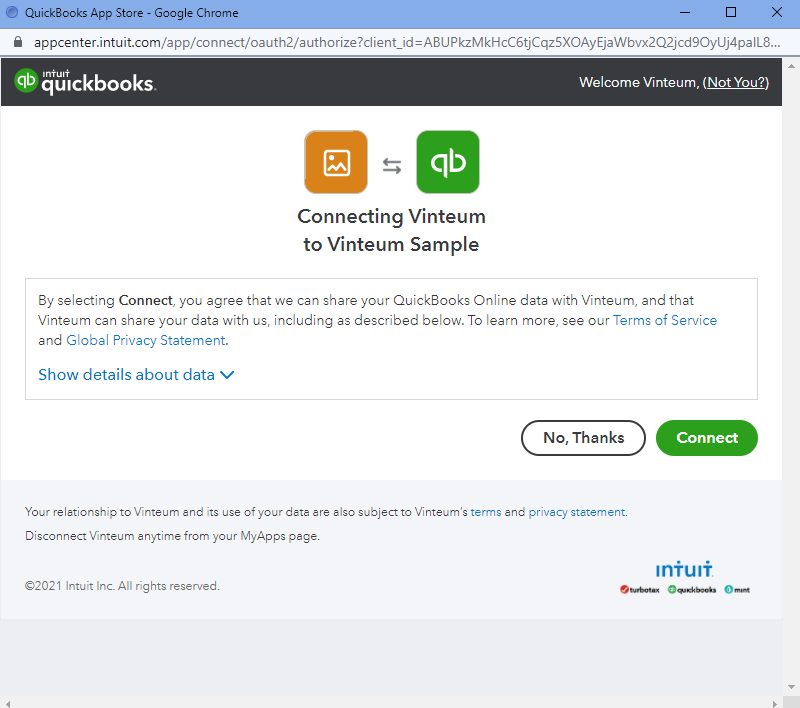
3.) Connect your Quickbooks Online account to your Neigbrs account. This will allow Neigbrs to get and synchronize the necessary payment information.
Quickbooks Settings
If it is your first time using the integration, the first step is creating "Invoice Items". An Invoice Item is the product or service you’ll charge people for.
1.) Open QuickBooks Settings
2.) Create a New Invoice Item
- On the Invoice Items tab, click "+ New Item".

Enter Invoice Item Details
- In the form that appears, type the Name of the item.
- Fill in the Description to explain what you’re charging for.
- Set the Unit Price you want to bill.
- Click Save.

After creating all the necessary items, you will be ready to start generating invoices.
Quickbooks Invoices
Through our integration, you can also create invoices and send them to residents of your Neigbrs community directly from the software. Here is how you can do that:
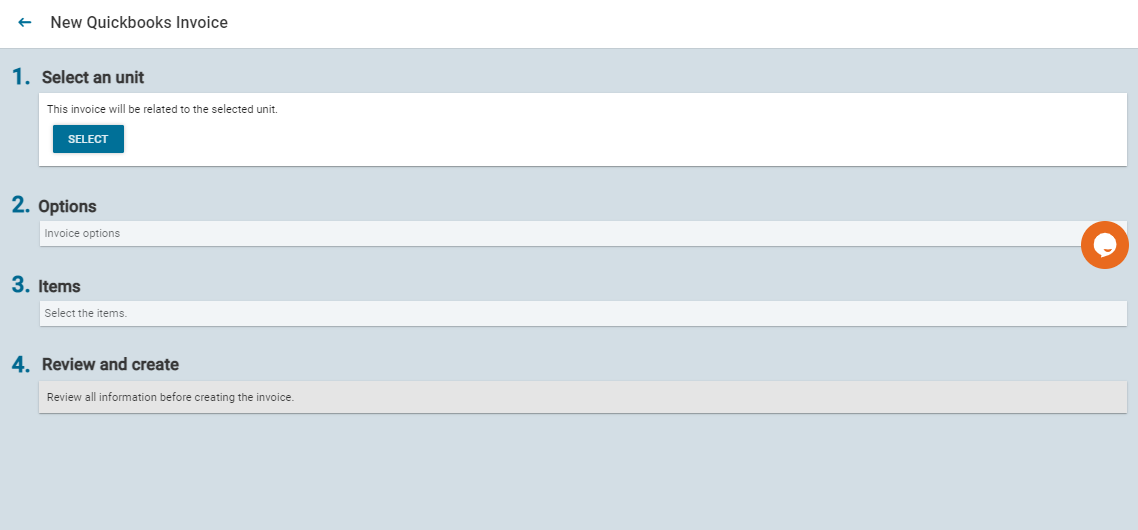
1.) Go to Quickbooks Invoices and Click the green plus button in top-right corner of your screen.

2.) Click on "Select". Determine the addresses/units to which you want this invoice to be generated.
Choose the community (if you manage multiple), the building/street and the units/houses of the residents you would like to create the invoice.
If you are generating an invoice for the entire community at once, you can click on "Select All" under "Building/Street"

If you are generating an invoice for a (or some) specific unit(s), choose ths
You can click on "+ Details" to check which residents are registered under each unit and what their profiles are.

You can also use the search bar to find a particular unit/house or person. You will see the information you searched for highlighted.
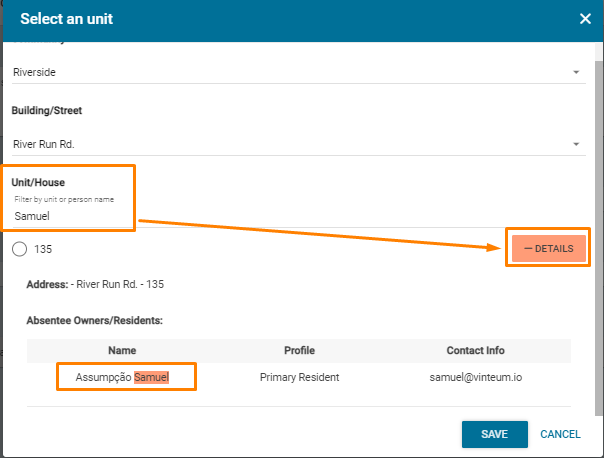
After selecting the unit(s), click on "SAVE".
Editing the invoice information
Under section 2 - Options - you will be able to determine the billing address, invoice date, and due date.
The default is to use the unit's address as the billing address, but if you wish to change it, uncheck the box and write the desired billing address.

Then , select the invoice date and due date.
After doing that, select the invoice items from the ones you created earlier. Click here to check an article on how to create invoice items.
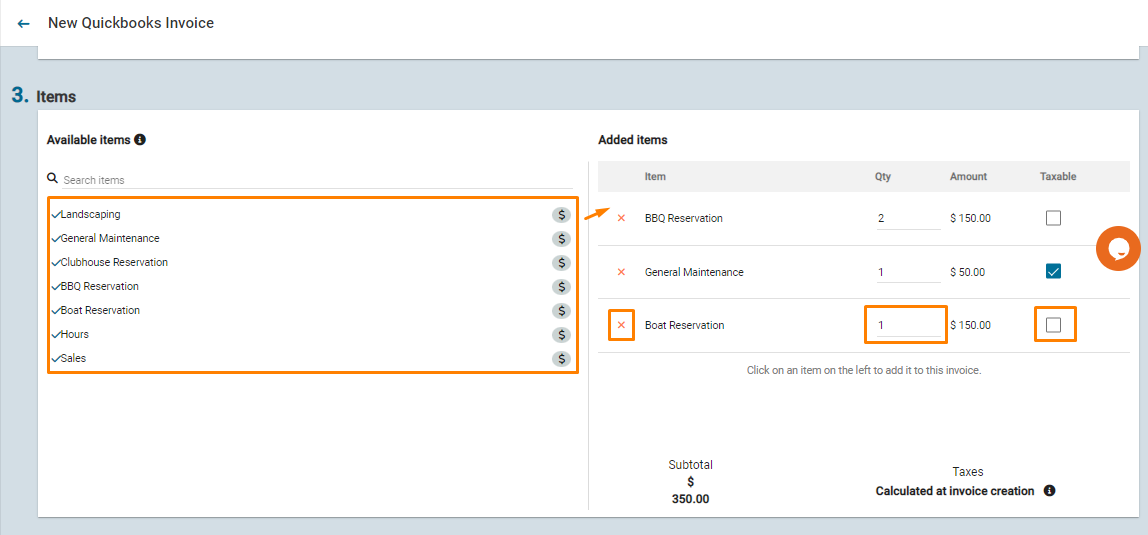
Click on any item on the left menu, and they will be added to the list on the right-hand side.
After adding the items to the list, you can:
- Delete items by clicking on the red 'X' button;
- Change any item quantity;
- Select if that item is taxable or not.
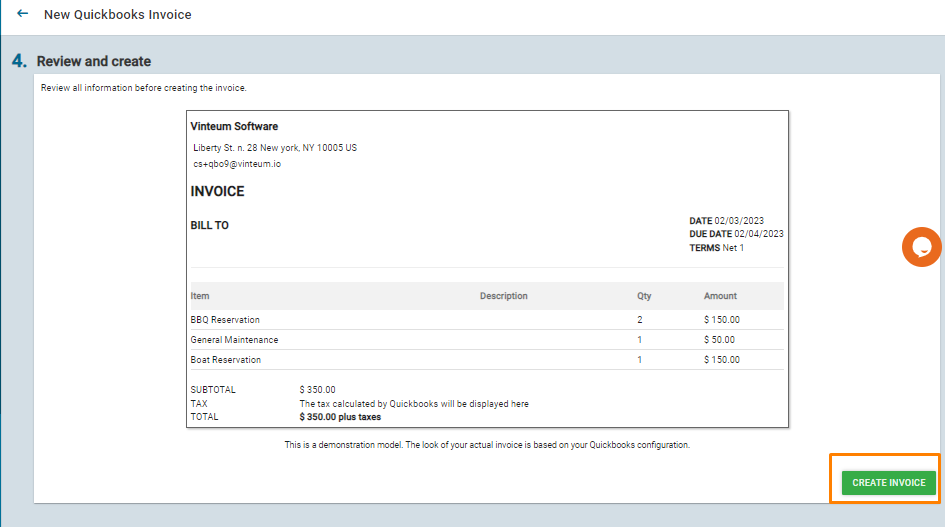
4.)Lastly, review the invoice information and click on "Create Invoice." A pop-up will show you the status of the invoice's creation. If successful, a record will be created in both Quickbooks Online and Neigbrs.
The residents to whom the invoice was created will receive notifications via email and push informing them. You can also enable text messages notifications.
This is how you create an invoice in Neigbrs using our Quickbooks Online integration! After the invoice is generated, you can access its information and download it back at Quickbooks Invoices.