How to add and edit residents to a unit

Vinteum Software
Last Update 4 jaar geleden
As you may have seen we have three profiles for residents: absentee owners, primary residents, and additional residents. If one of your residents moved out and decided to rent the unit you can easily update your community to reflect that.
You can watch the step-by-step to learn how to add residents to a unit in the video below:
Or read the instructions below:
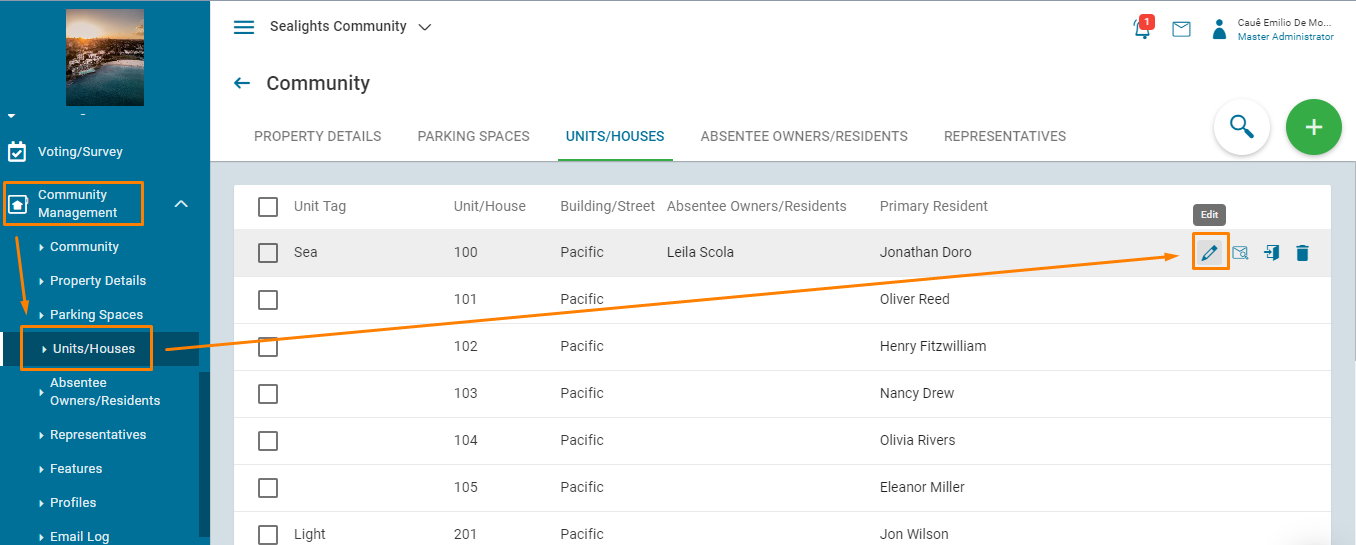
1.) On the left toolbar, select "Units/Houses" under the Community Management drop-down. Then hover over the unit you would like to adjust and select "Edit" on the right side.
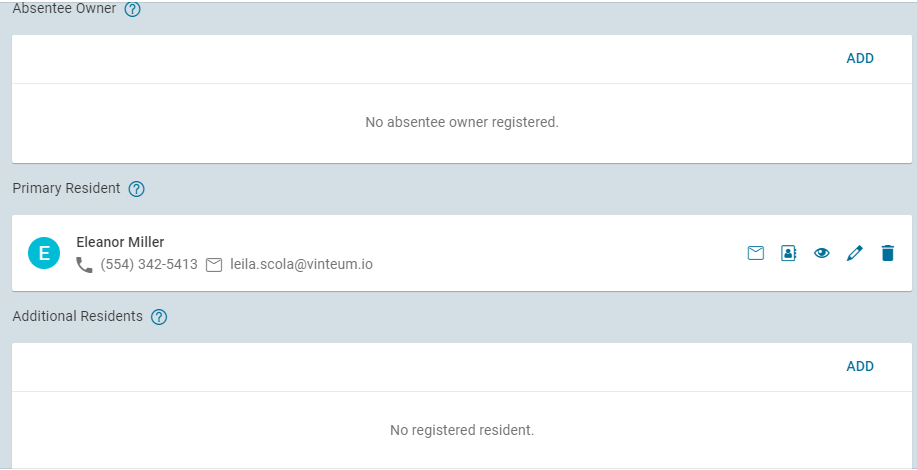
2.) There are three different types of profiles contained in each unit.
- Absentee Owner - This field only becomes applicable if the unit is rented. If rented, then the property owner is placed here. If owner-occupied, then the owner will be listed under tone of the two Occupying Resident sections Bellow.
- Primary Resident - This field is designated for the individual(s) currently living in the property. If there is a property owner listed, then this is reserved for tenants, if not, this field will contain the owner occupant.
- Additional Residents - This is best utilized for children, in-laws, and live-in guests.
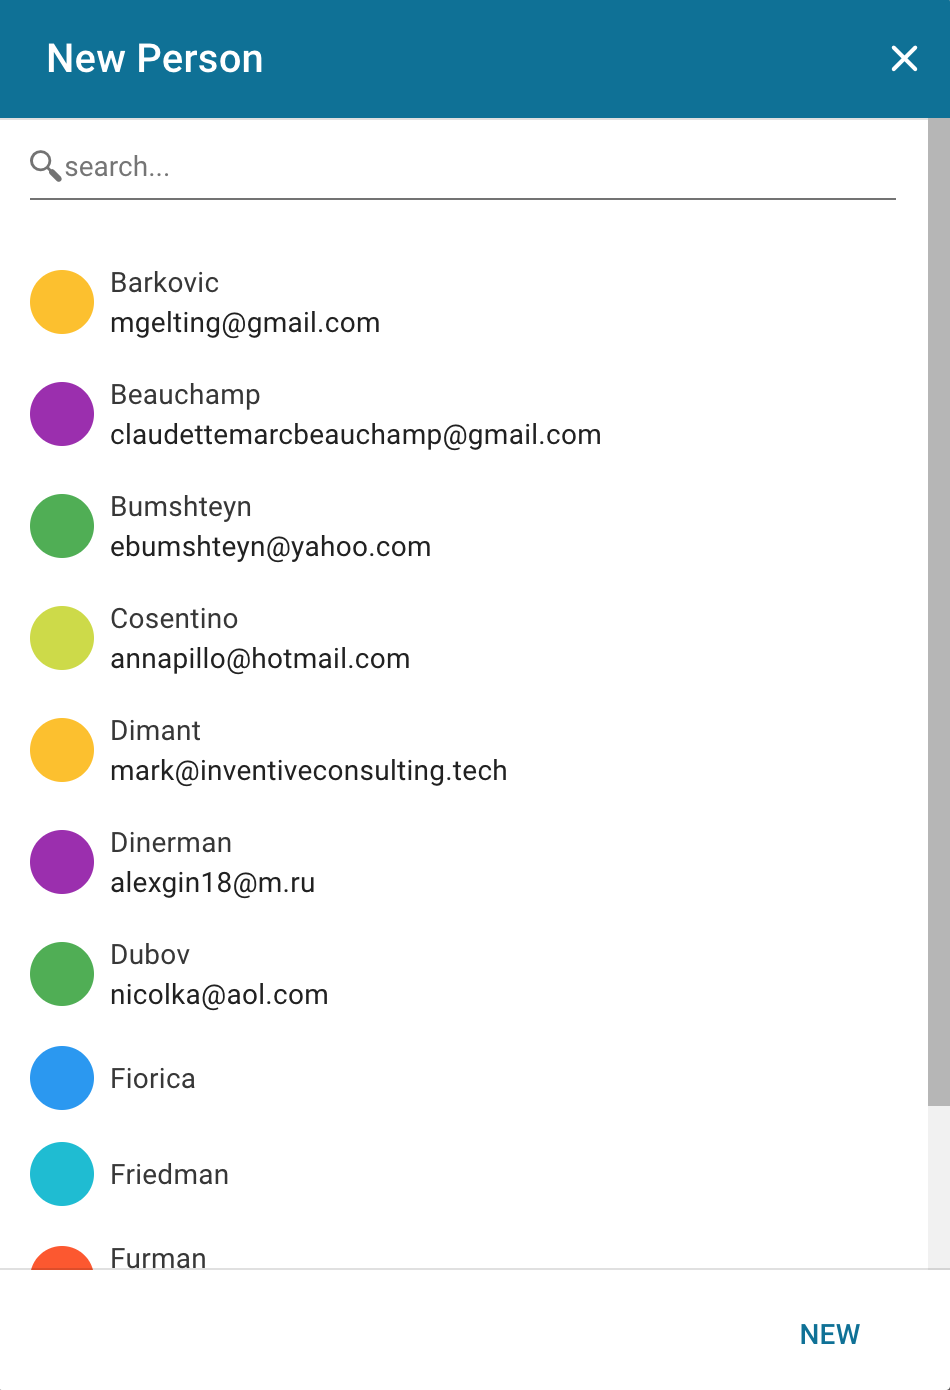
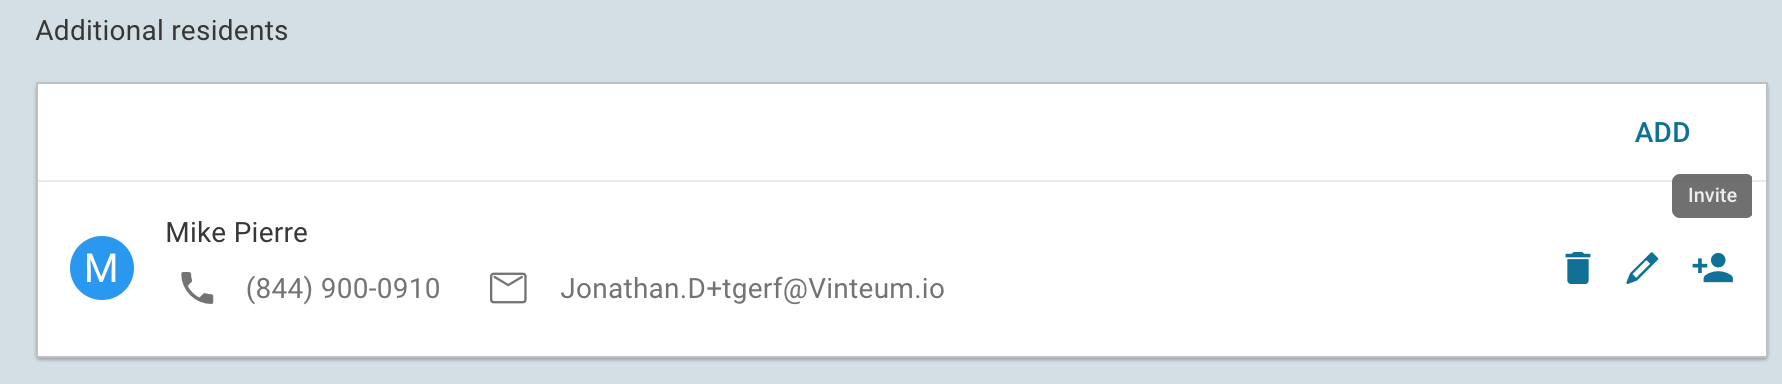
3.) You can easily add an existing resident or create a new resident by selecting the "ADD" option. You can search for a resident from the list or select "NEW" to create a new resident.
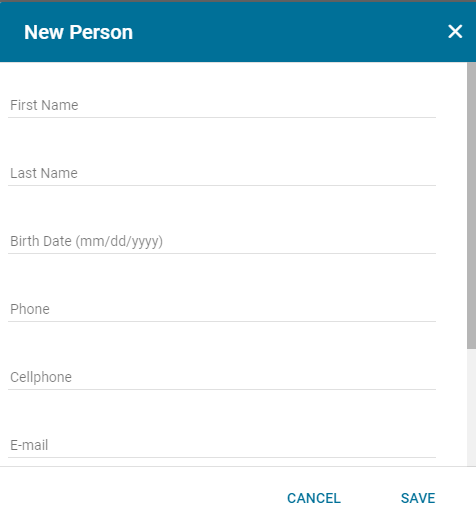
4.) Complete the fields and save in order to create a new resident. To invite them to the system, the email section has to be filled. This email cannot be the same as one being used by another user already registered in the community.
5.) To invite the newly added resident, click the "Invite" option when hovering over the contact and an email invitation will be sent to the resident.
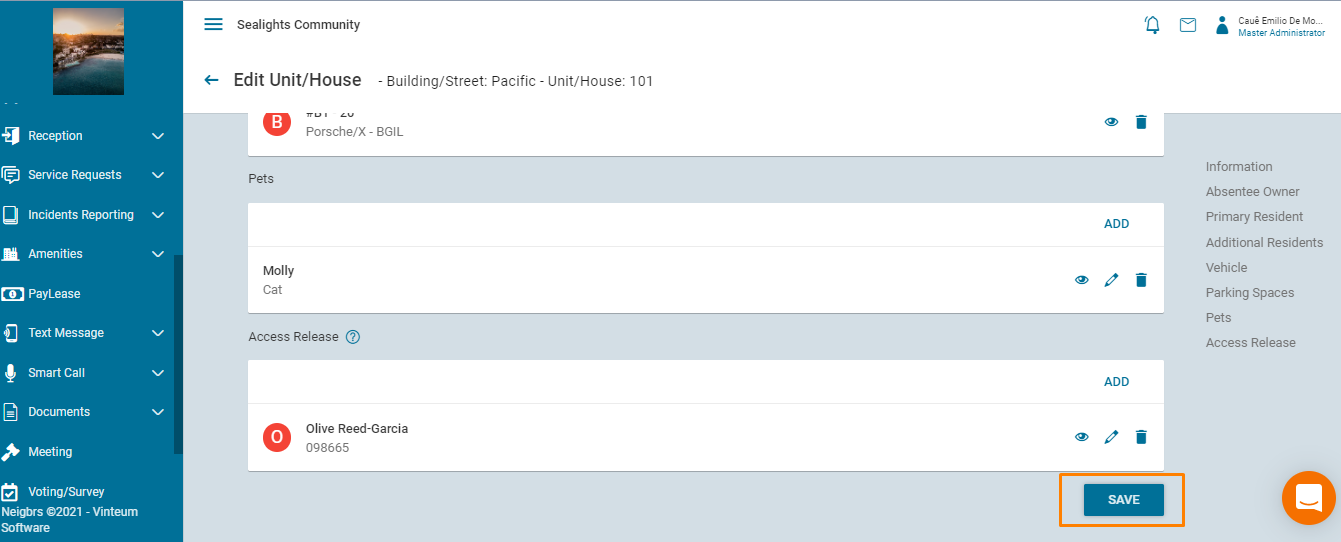
6.) You can add any additional residents by clicking add or click save on the bottom left to finalize everything.